

Optimizing Windows-VM performance on QEMU/KVM
Windows 10 VM configuration on linux & other libvirt tweaks


Running windows guest vm in a linux host is petty straight forward with a vm applications like virtualbox, but such installations looses heavily on performance and latency side.
Between running your apps on windows vm in virtualbox and running those apps directly on linux with a translation layer like wine, the middle ground is to run it on a kernel hypervisor, like KVM. For this a windows installation will need some tweaking and requires some drivers to unlock the full potential of KVM.
Prerequisite
This article discusses the configuration and tweaks that is possible when installing a windows-vm and assumes that you can already install a windows-vm with virt-manager.
If you haven't yet, make sure to have
qemu,kvm,libvirtandvirt-managerinstalled on your linux host.You should have a windows 10 iso ready to use.
If you haven't yet, download it from the Microsoft's official page.Download the virtio-win.iso from here.
And check if the
libvirtdservice is started on your hostsudo systemctl status libvirtd.service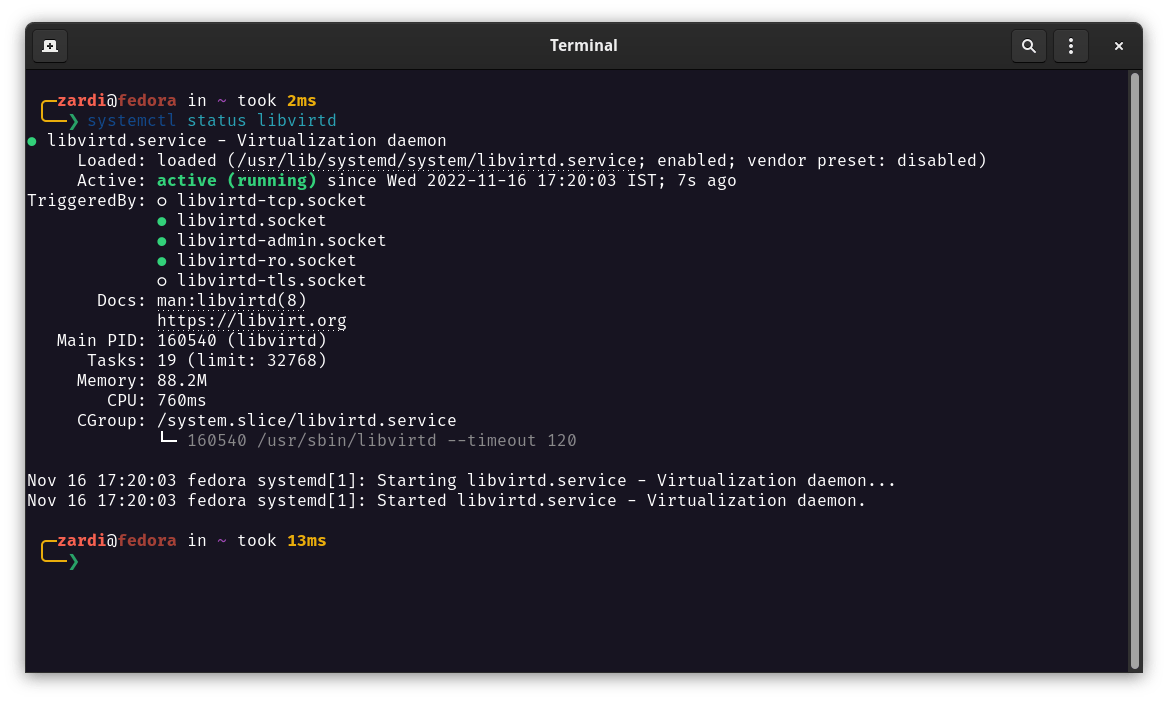
Adding user to the libvirt group
Now, start with adding the user to the libvirt and all other relevant group to make administration tasks and launching virt-manager easier.
sudo usermod -aG libvirt $USER
sudo usermod -aG libvirt-qemu $USER
sudo usermod -aG kvm $USER
sudo usermod -aG input $USER
sudo usermod -aG disk $USER
VM configuration
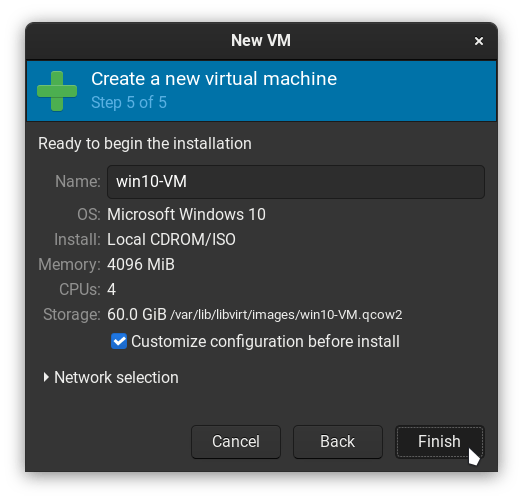
When creating a new windows vm with Virtual Machine Manager (virt-manager),
mark the Customize configuration before install box before clicking on the Finish button
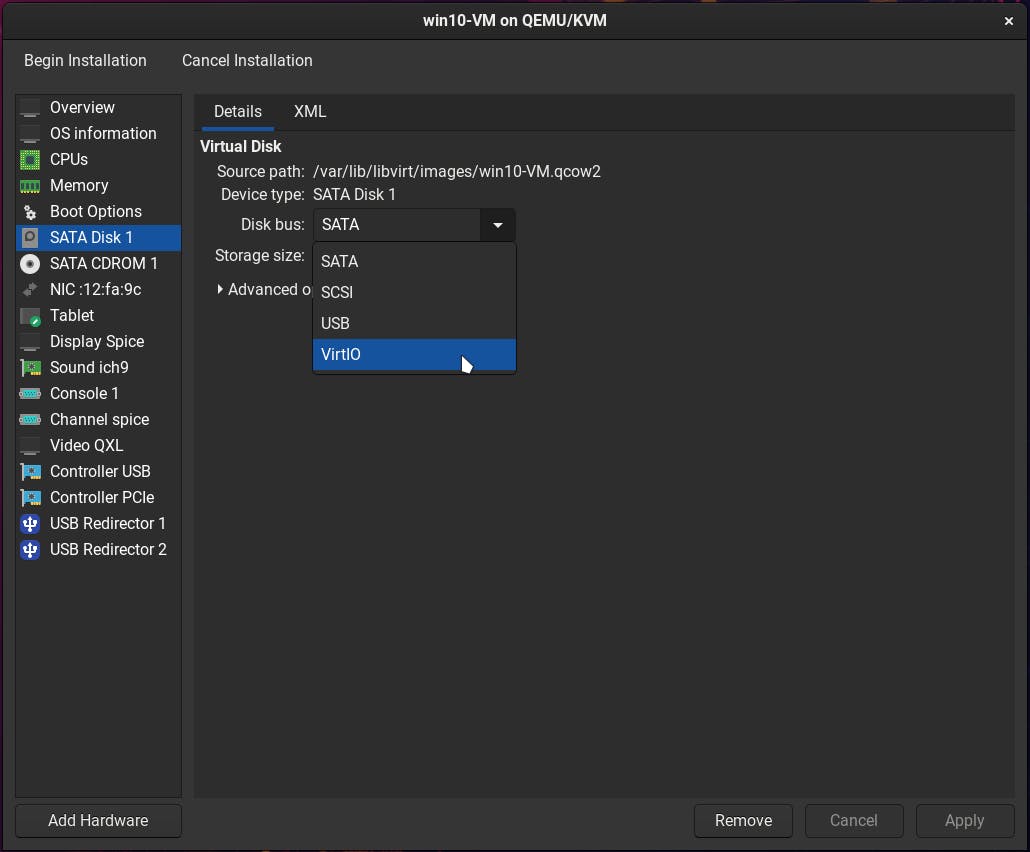
In the customization menu,
change the Disk bus type of your VM storage from SATA to VirtIO.
Note:
While a dedicated storage drive with passthrough is recommended, if you have extra physical storage drive to dedicate for a vm, please do so, this will make the vm noticeably faster than any qcow2 file storage.
Also, change the NIC device model to virtio to take full advantage of the virtio drivers we are going to install
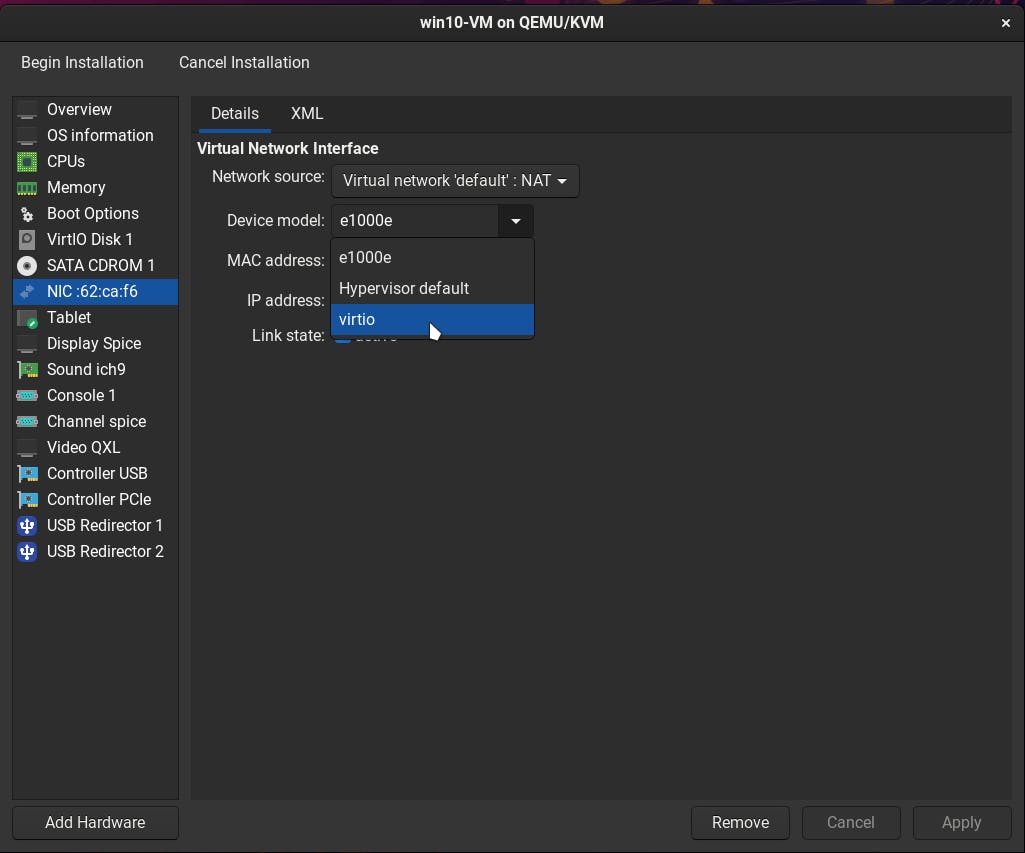
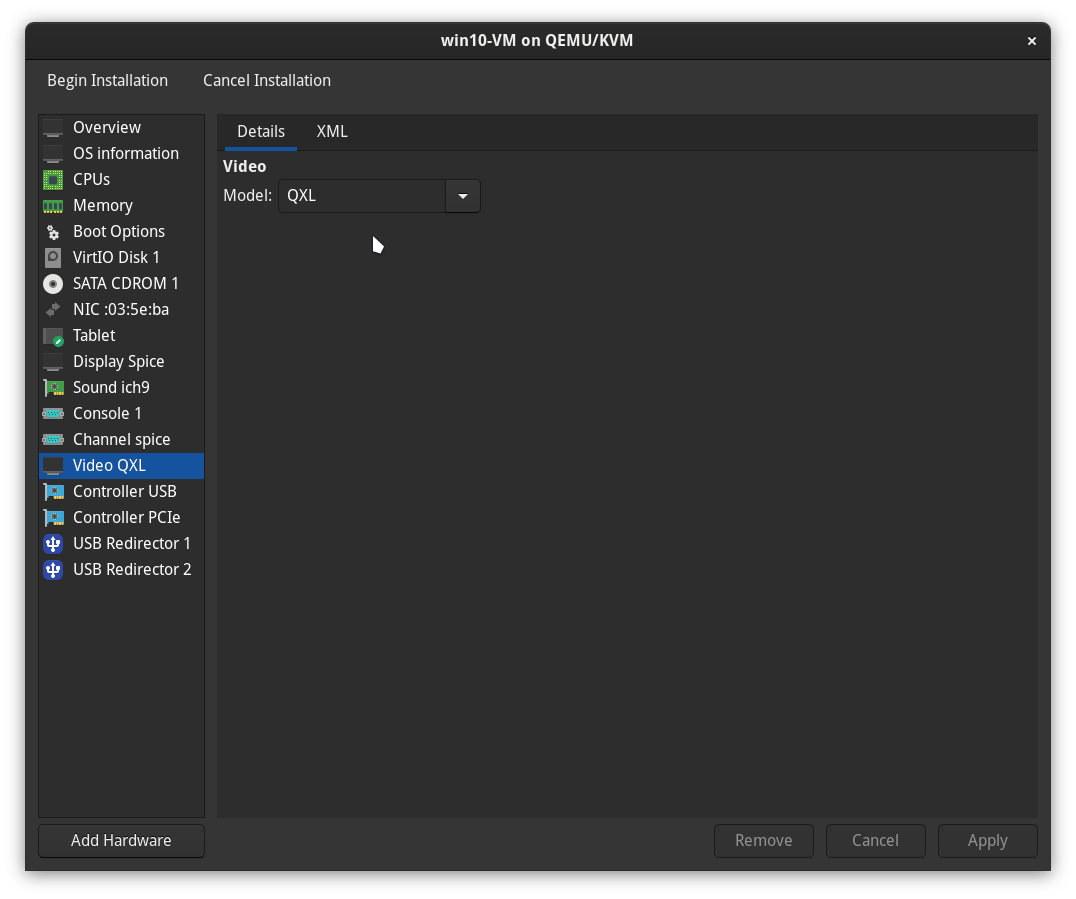
The development on virtio display drivers for windows has been abandoned and so the performance on VirtIO video driver isn't very good in windows guest.
Leave the video model as QXL
Virtio-win drivers
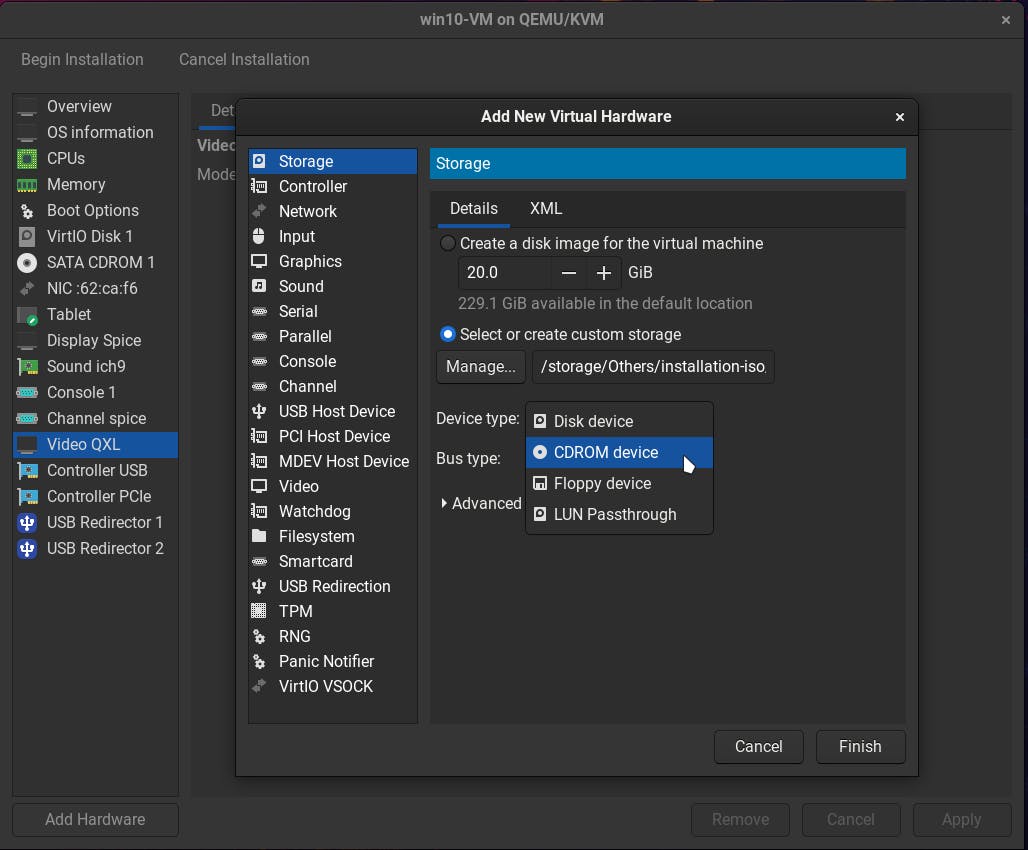
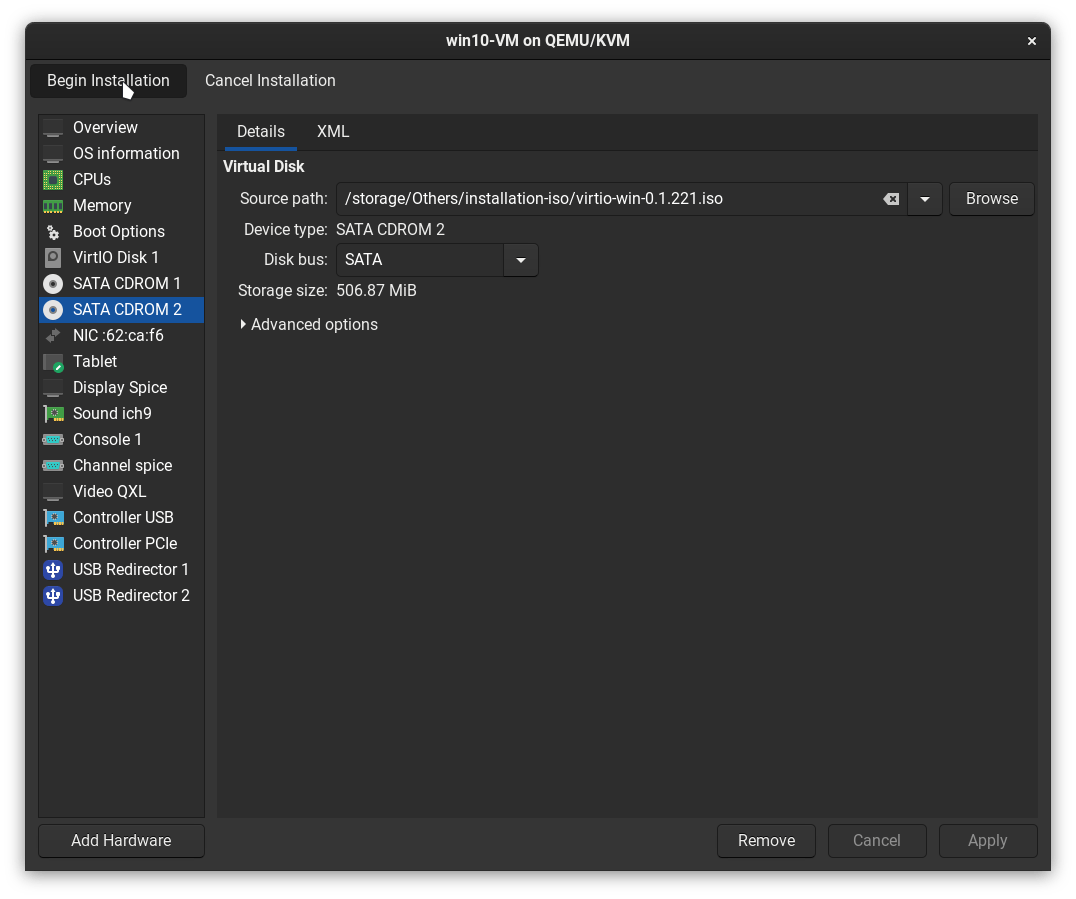
Click on the Add Hardware button on the bottom-left, in the Storage menu, select create custom storage and click on the Manage... button
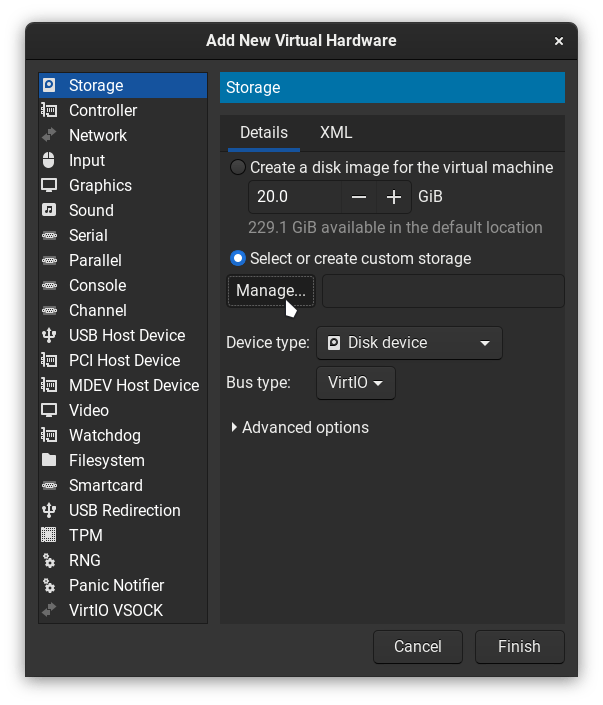
Locate and select the virtio-win.iso file downloaded from here,
and change the device type from Disk device to CDROM device
Now that the initial configuration is done, let's continue with the setup...
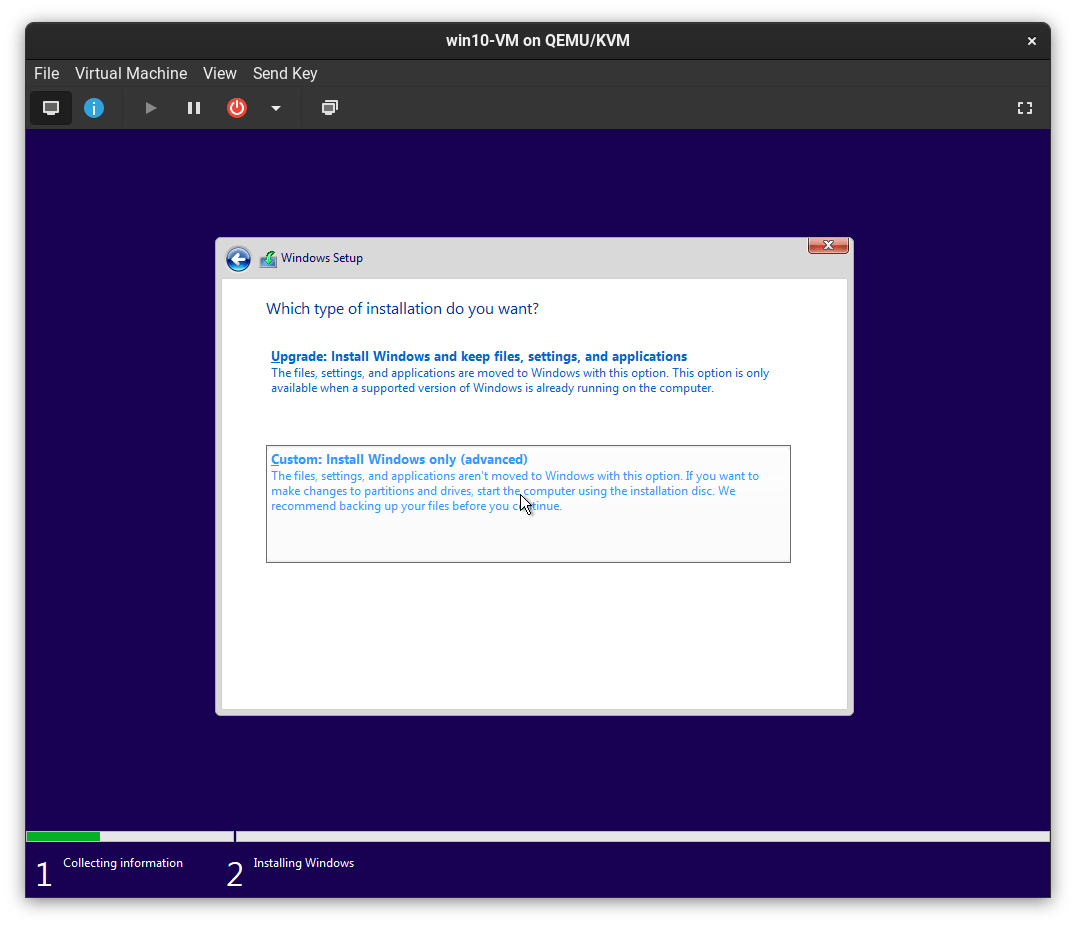
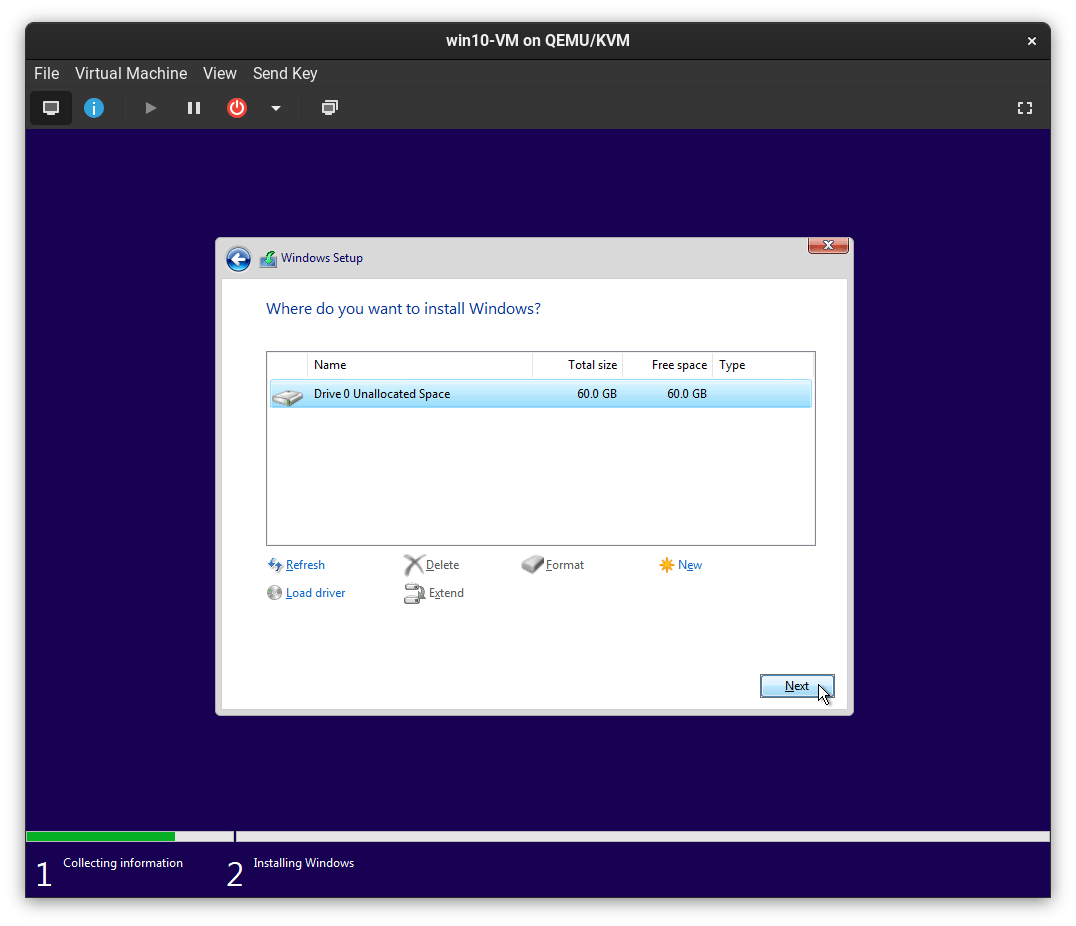
In the windows setup screen,
select the Custom Install
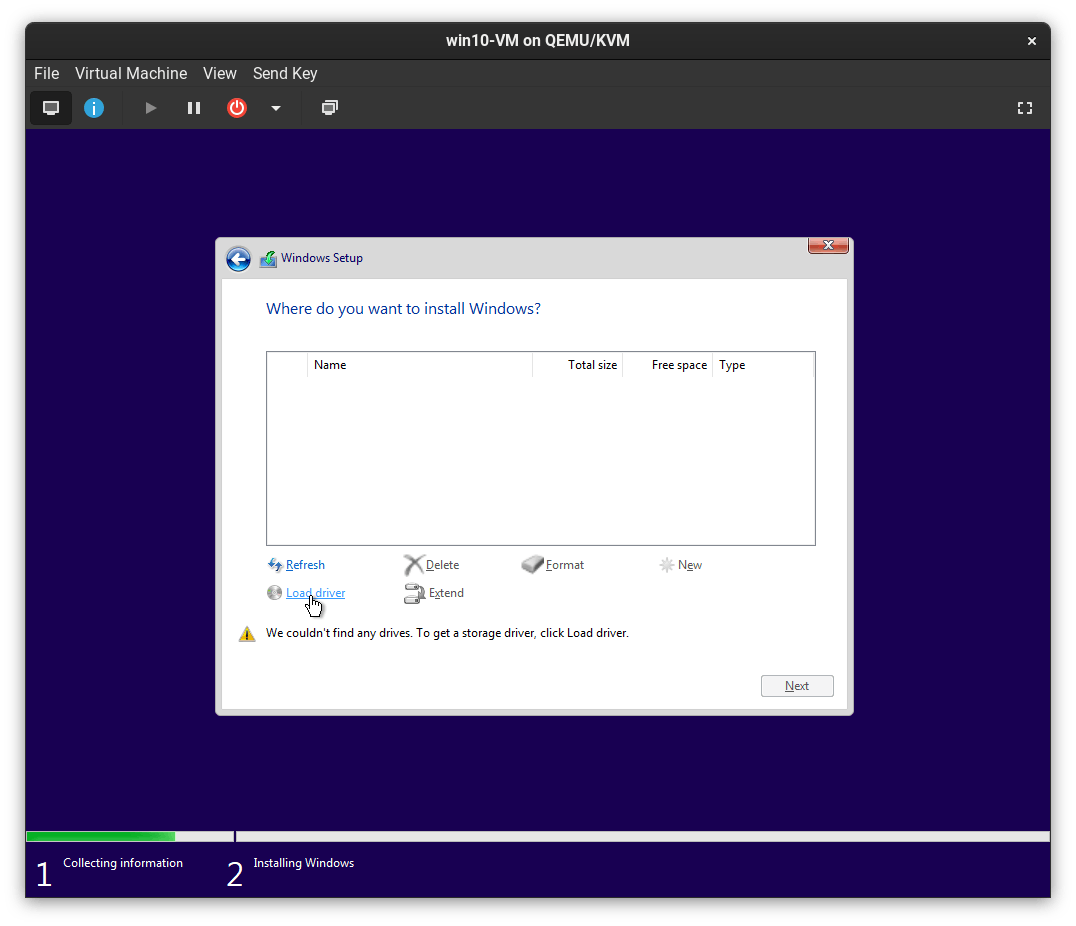
The storage selection screen will not display our storage drives because virtio scsi controller drivers aren't present as default in windows.
Click on the Load driver button in the bottom-left
Select the storage controller driver that is appropriate for the windows version you are using
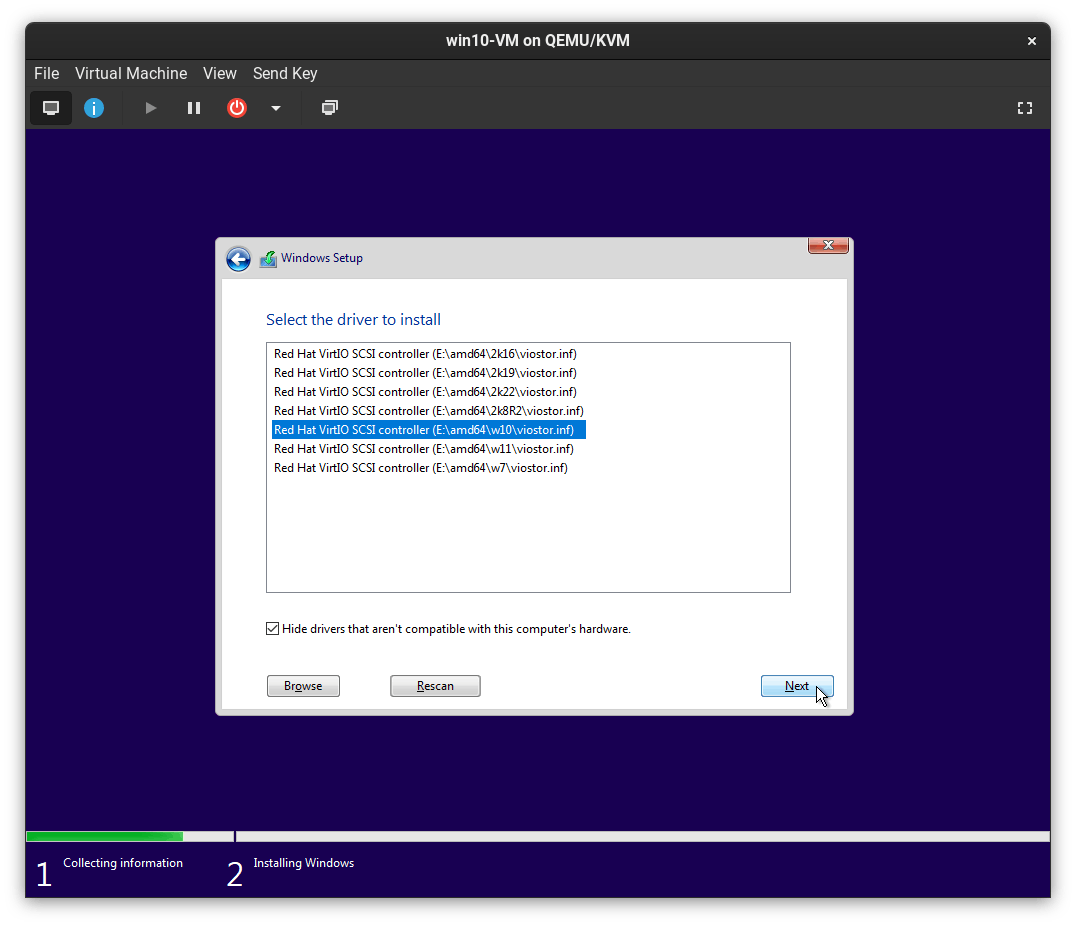
Now the installation can be done as usual
Drivers installation
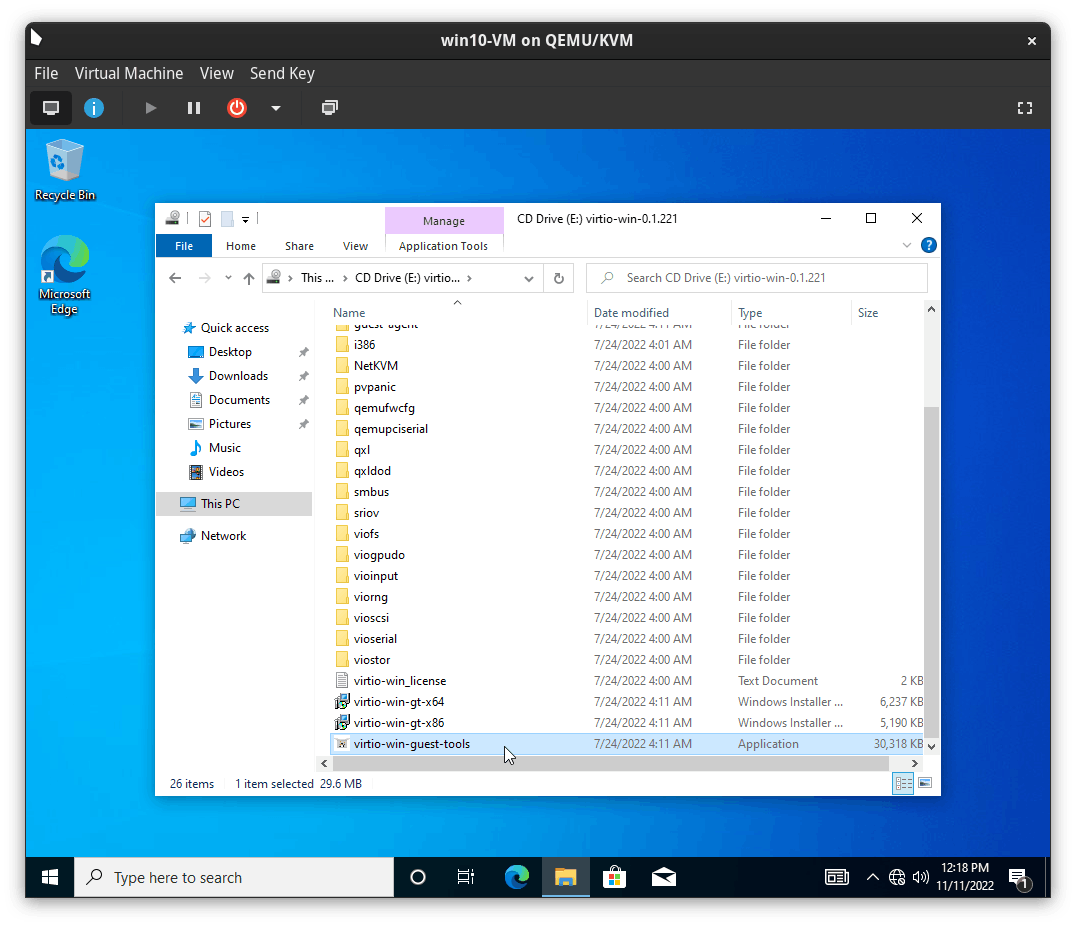
Select the CD drive in File Explorer with virtio-win files
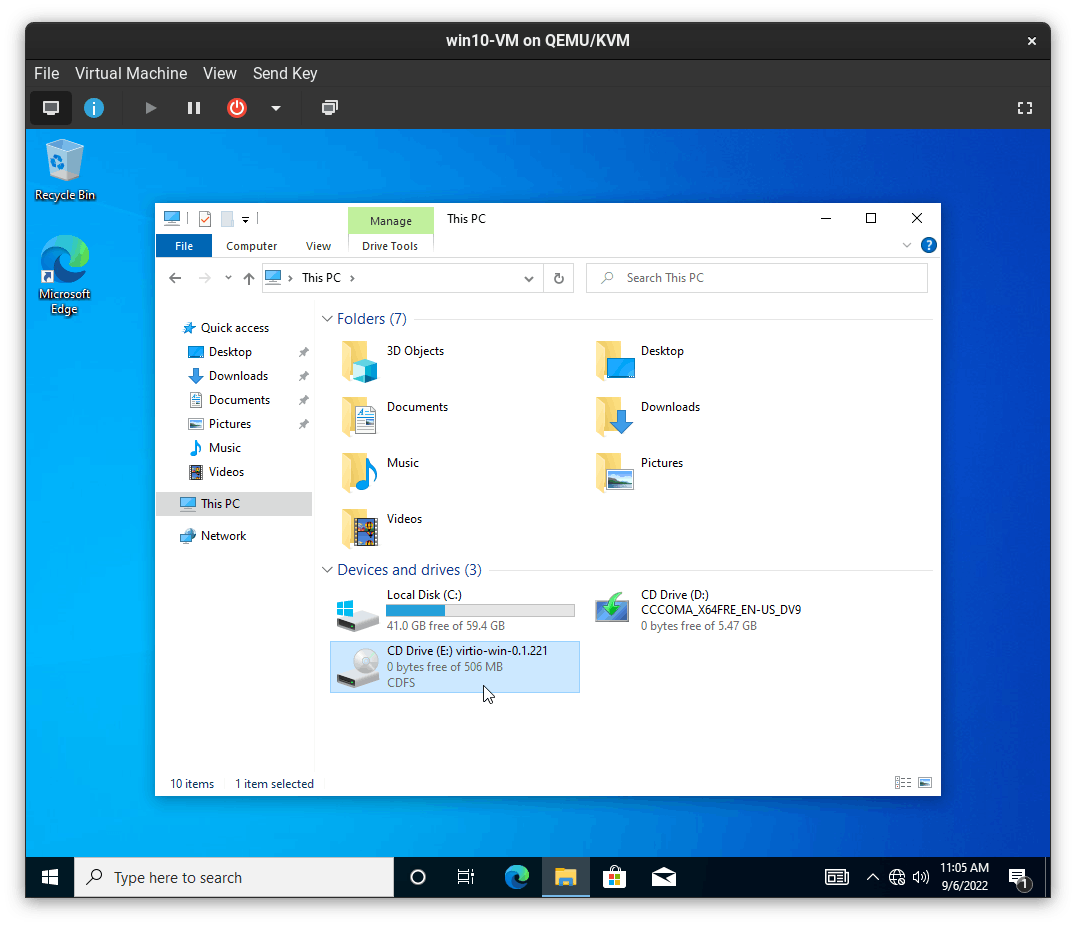
You can install the VirtIO driver suit from either the windows installer or the application package, the application package comes with some spice drivers also
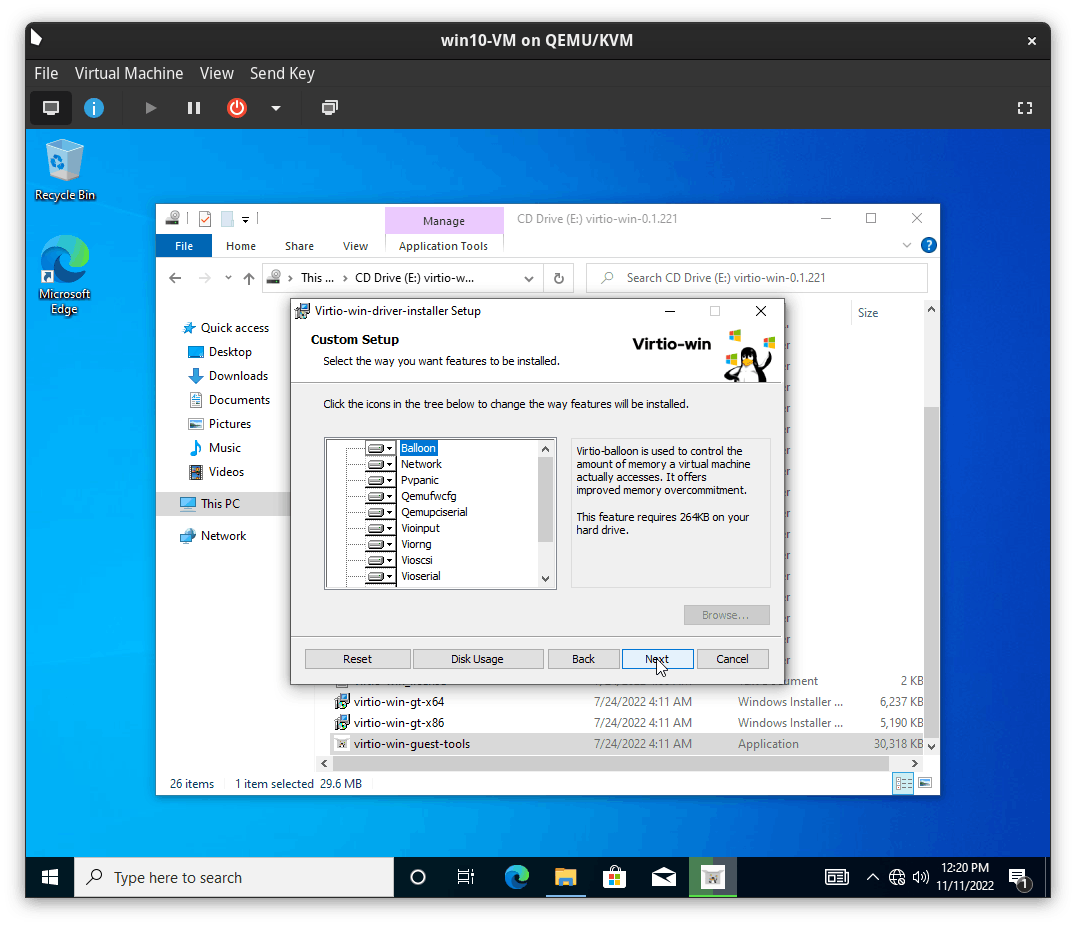
In the virtio-win-driver setup screen,
leave everything as default and continue the setup
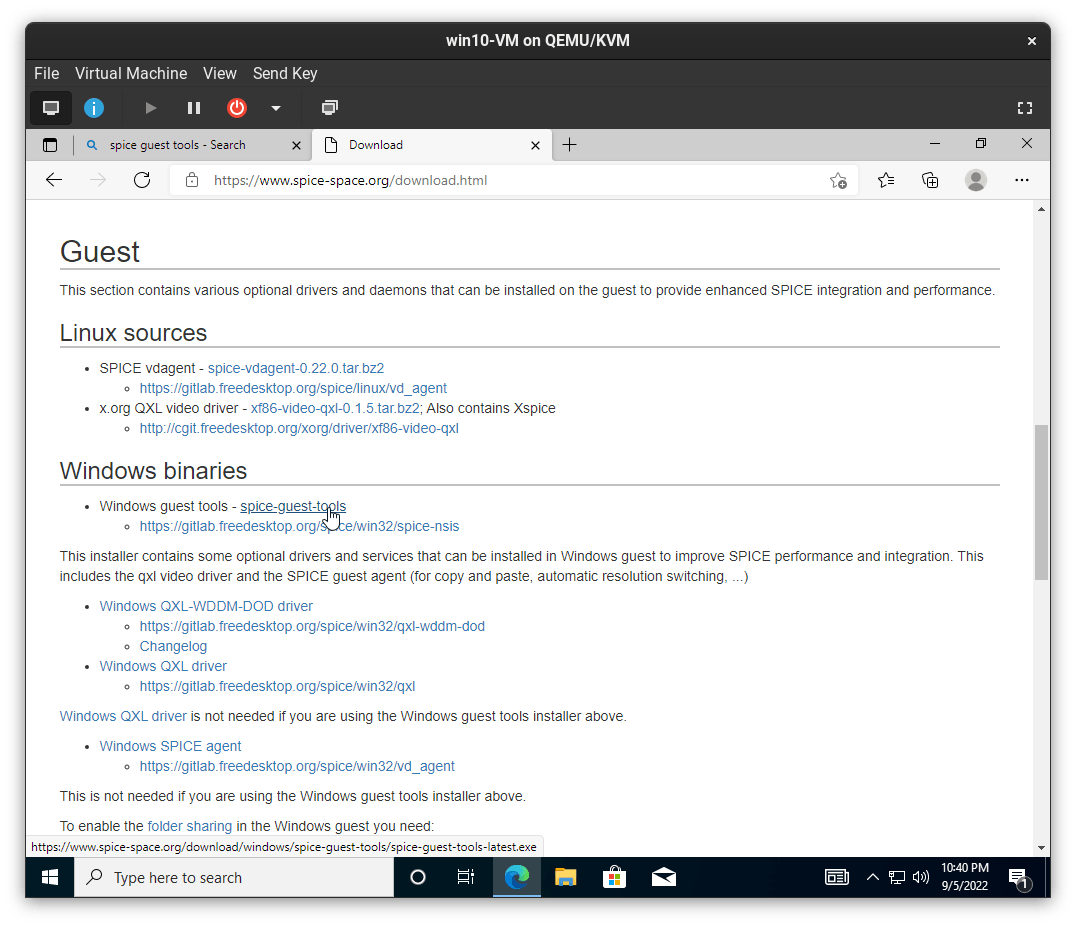
To install the full suit of spice drivers, use the web-browser to go to spice-space.org/download
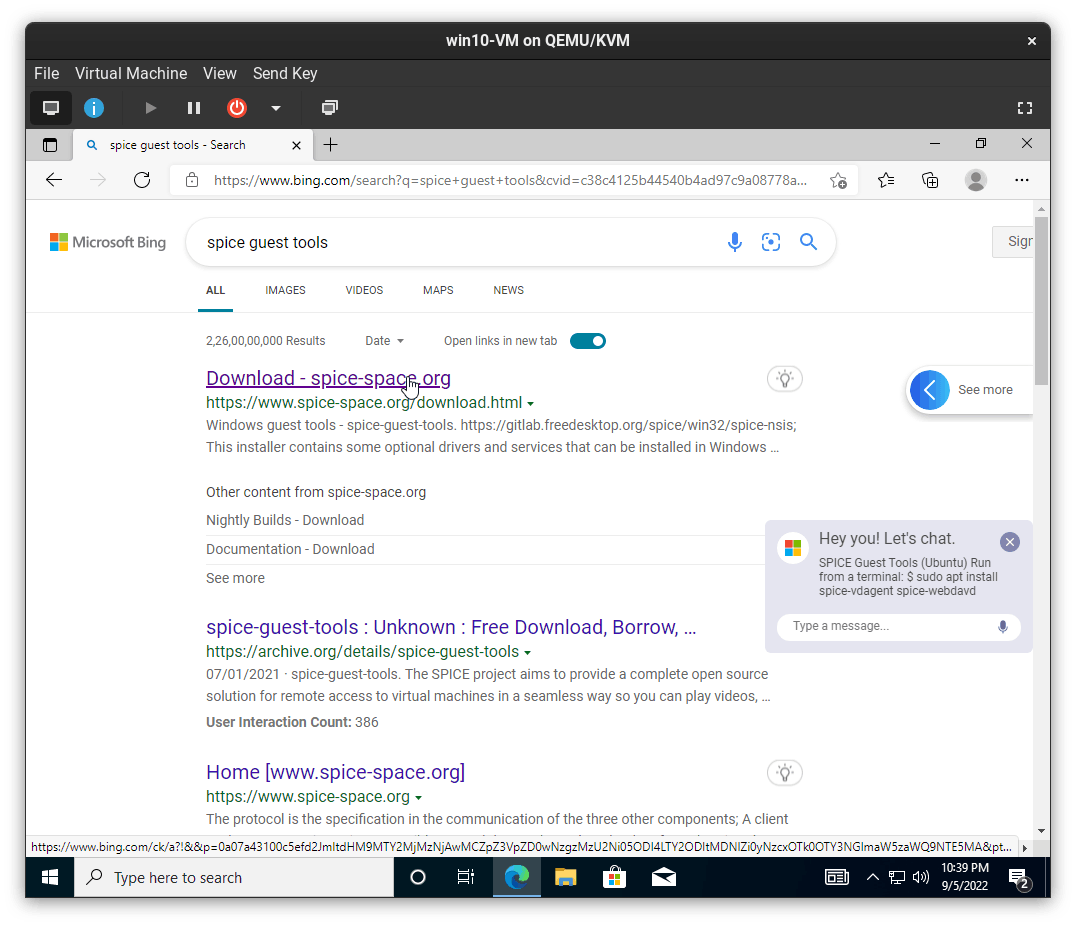
In the download page, go to windows binary section, download and install spice-guest-tools
VM Tweaks
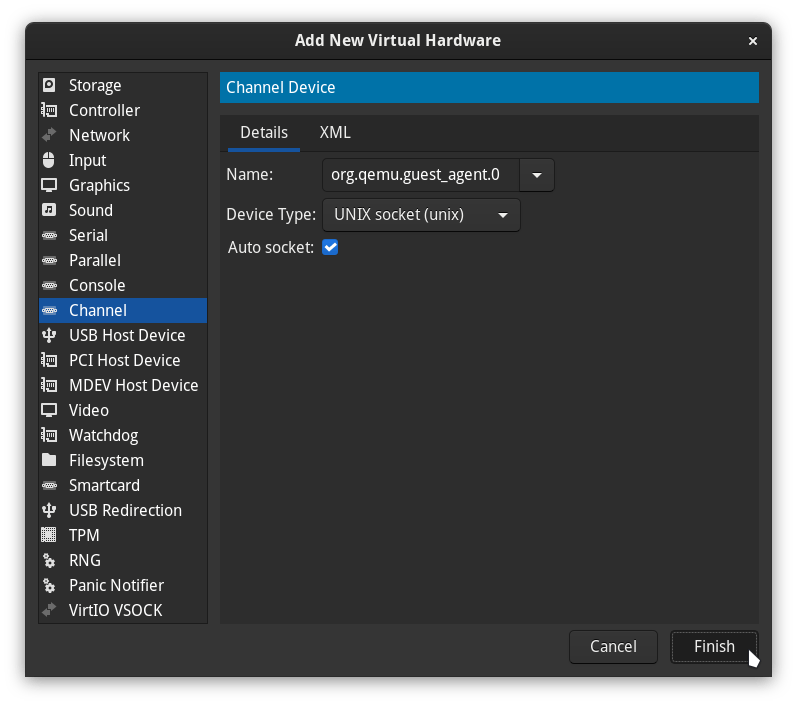
We can add qemu.guest_agent channel as a hardware,
it will help management applications with executing functions which need assistance of our guest OS
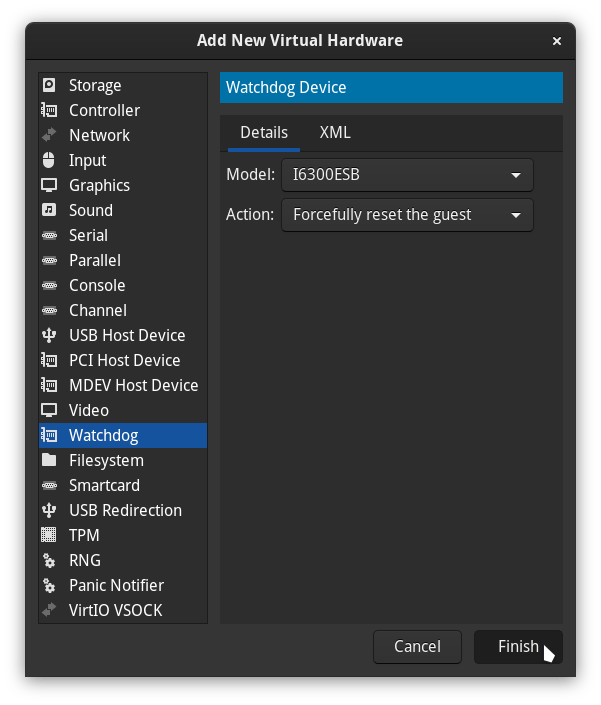
And we can also add a watchdog hardware,
which will help in rebooting the guest if it hangs
XML configuration edits
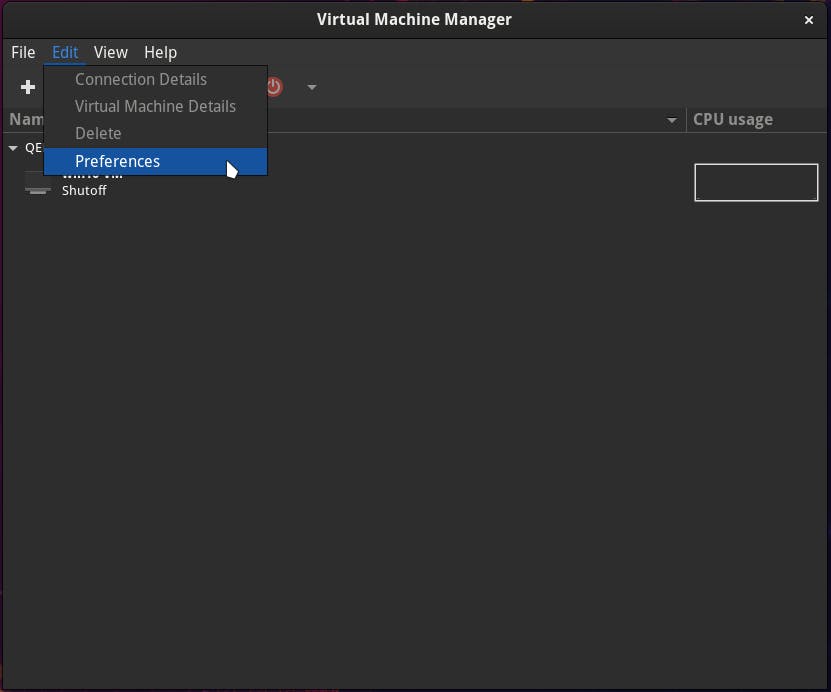
To edit the xml file,
go to the VM Manager home screen and in the Edit menu select preferences
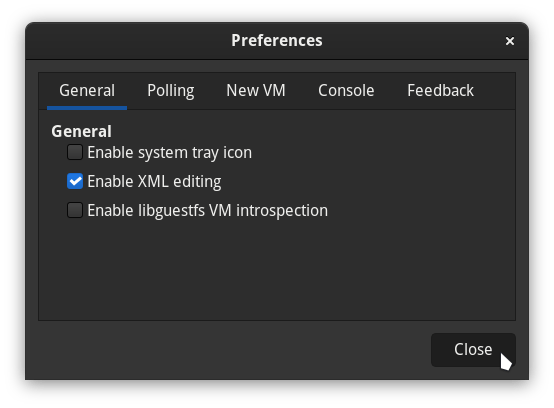
In the preferences,
mark the Enable XML editing box
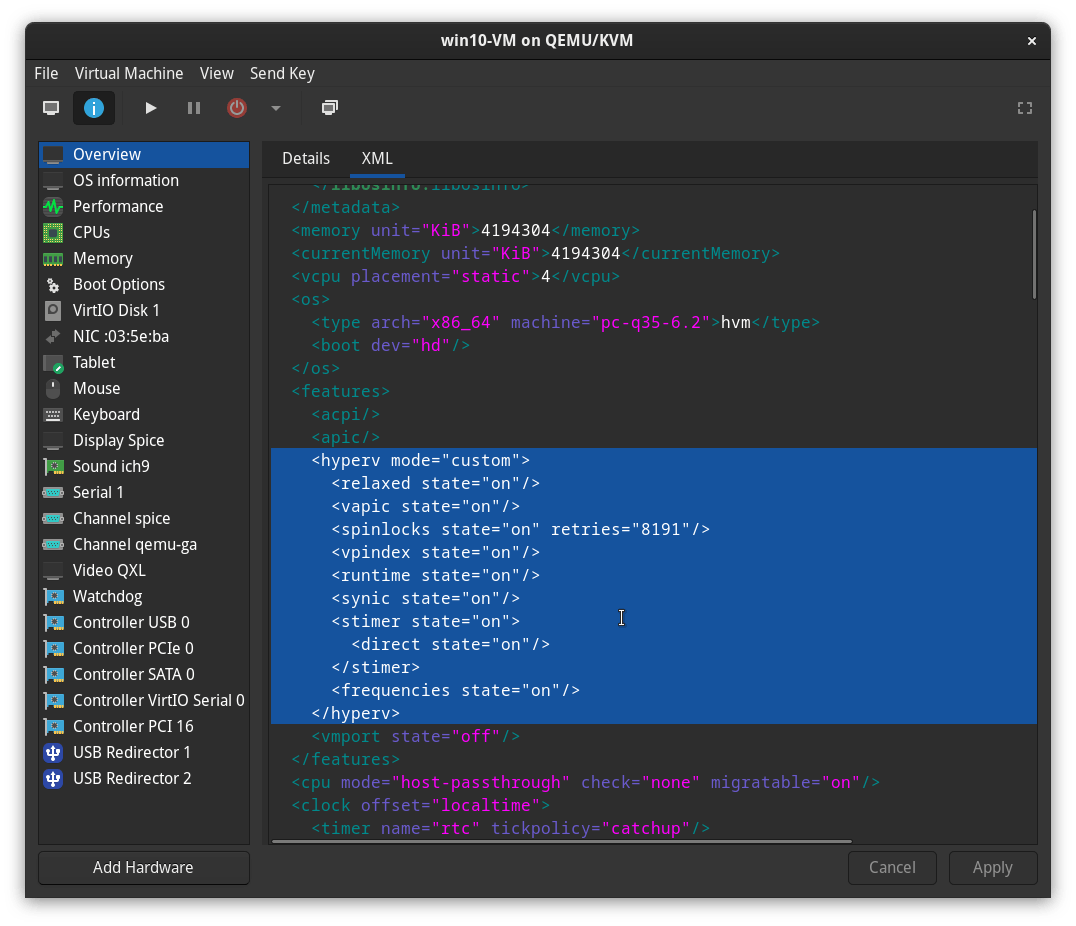
Enabling Hyper-V enlightenments, Hyper-V enlightenments gives the KVM ability to emulate the Windows Hyper-V hypervisor and improves the performance of Windows VMs.
Now, in the VM overview menu, go to the XML tab and add the following sub-section into the features section...
<features>
  [...]
  <hyperv>
    <relaxed state='on'/>
    <vapic state='on'/>
    <spinlocks state='on' retries='8191'/>
    <vpindex state='on'/>
    <runtime state='on' />
    <synic state='on'/>
    <stimer state='on'>
      <direct state='on'/>
    </stimer>
    <frequencies state='on'/>
  </hyperv>
  [...]
</features>
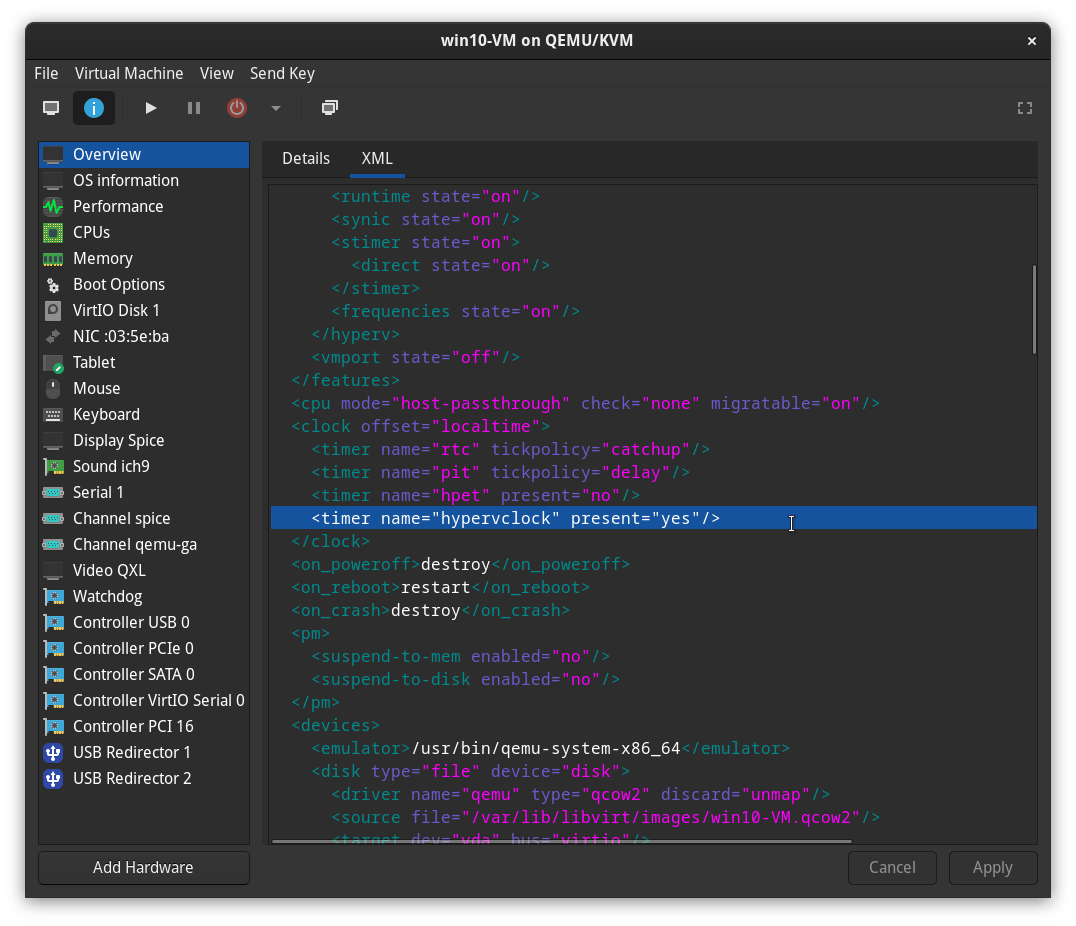
Also, add a new timer sub-section into the clock section of your XML configuration...
<clock offset='localtime'>
  [...]
  <timer name='hypervclock' present='yes'/>
</clock>
Performance optimizations
Optimizing the OS itself has a lot of possibilities, not every customization that can be done will suit everyone's usecase.
You can just remove most non-essential apps manually for somewhat usable stock configuration, or go full purge mode and use NTLite GamerOS preset to create the most barebones version of windows that will be very performant but somewhat unstable.
For most people who do not wish to dive in this much, the easiest optimizations that can be done is to use tools like
Storage optimizations
To maximize the savings,
You can turn off the hibernation mode from windows power setting or run this command in the terminal...
powercfg -h off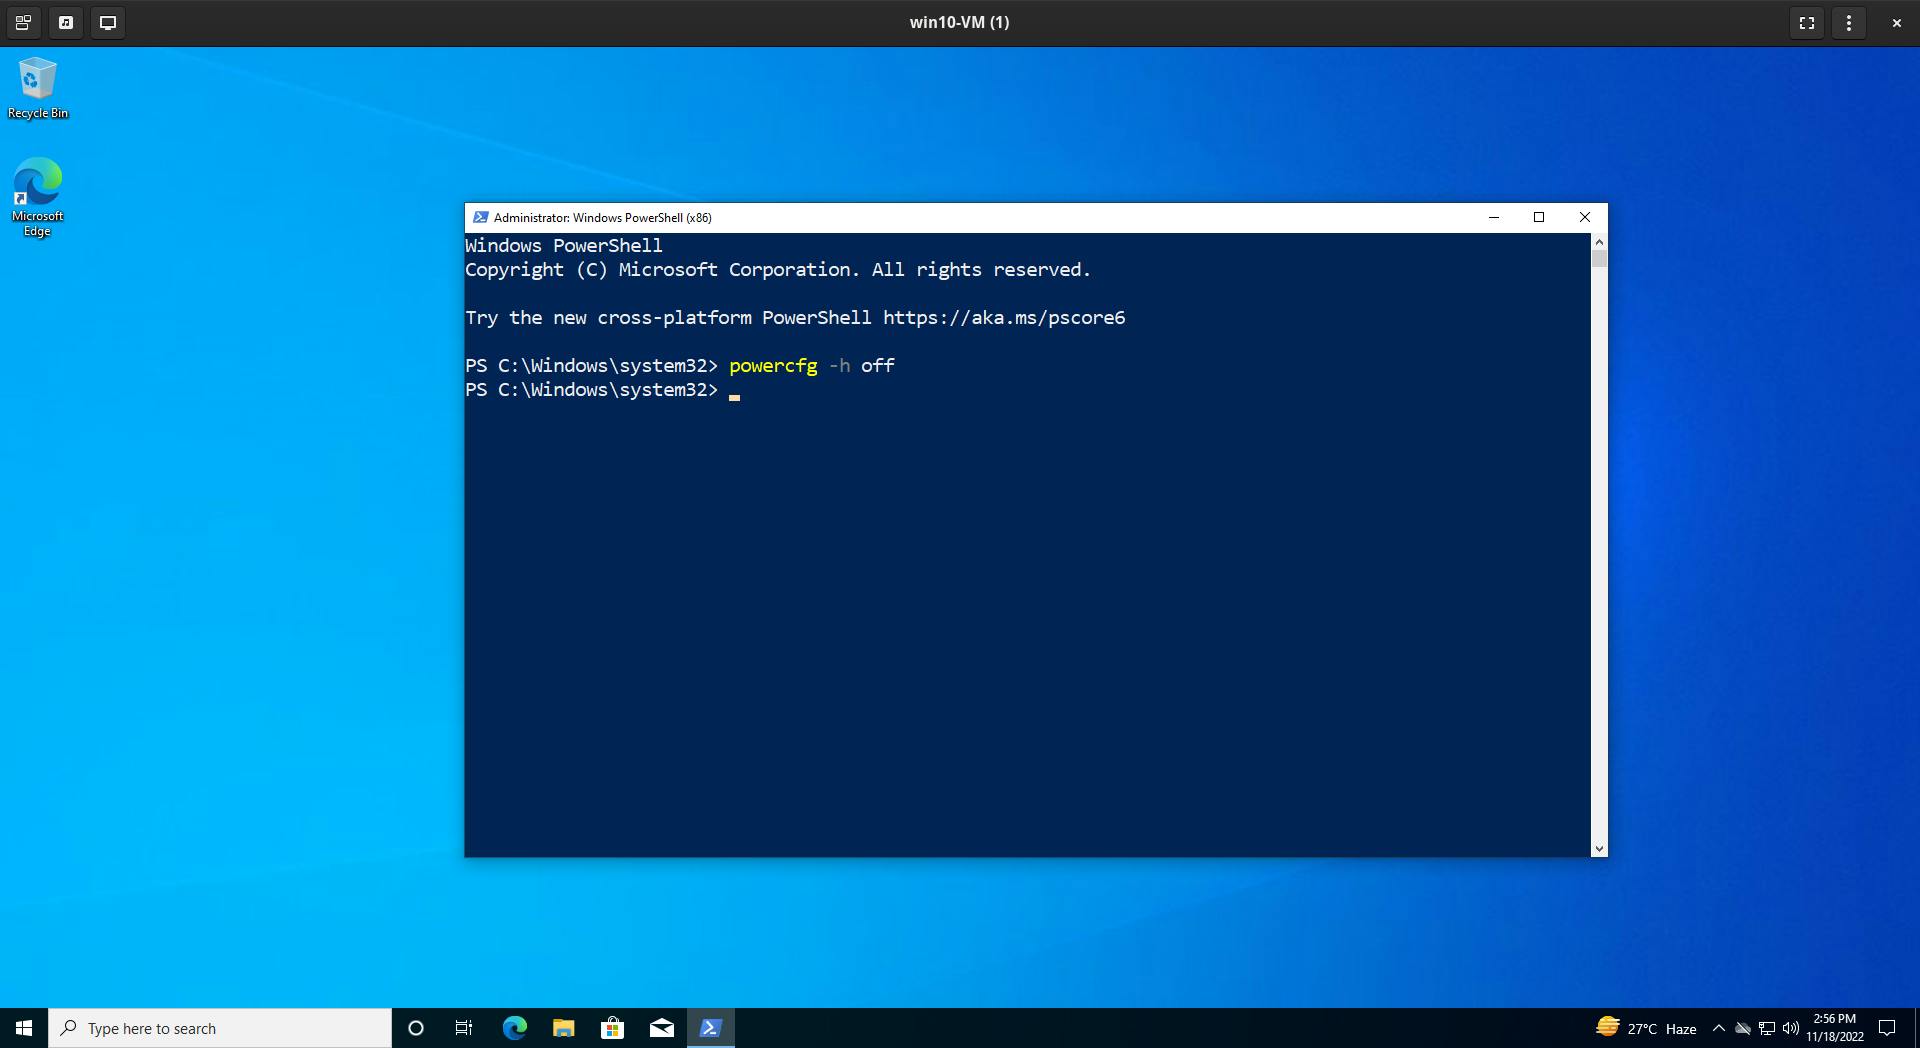
Windows update stores some backup data to rollback upgrades, this data can be freed by running in an administrator command prompt:
dism.exe /online /Cleanup-Image /StartComponentCleanup /ResetBase
More free space can be gained by running the Windows Disk Cleanup Tool. Configure it once with
cleanmgr /sageset:0and select all the checkboxes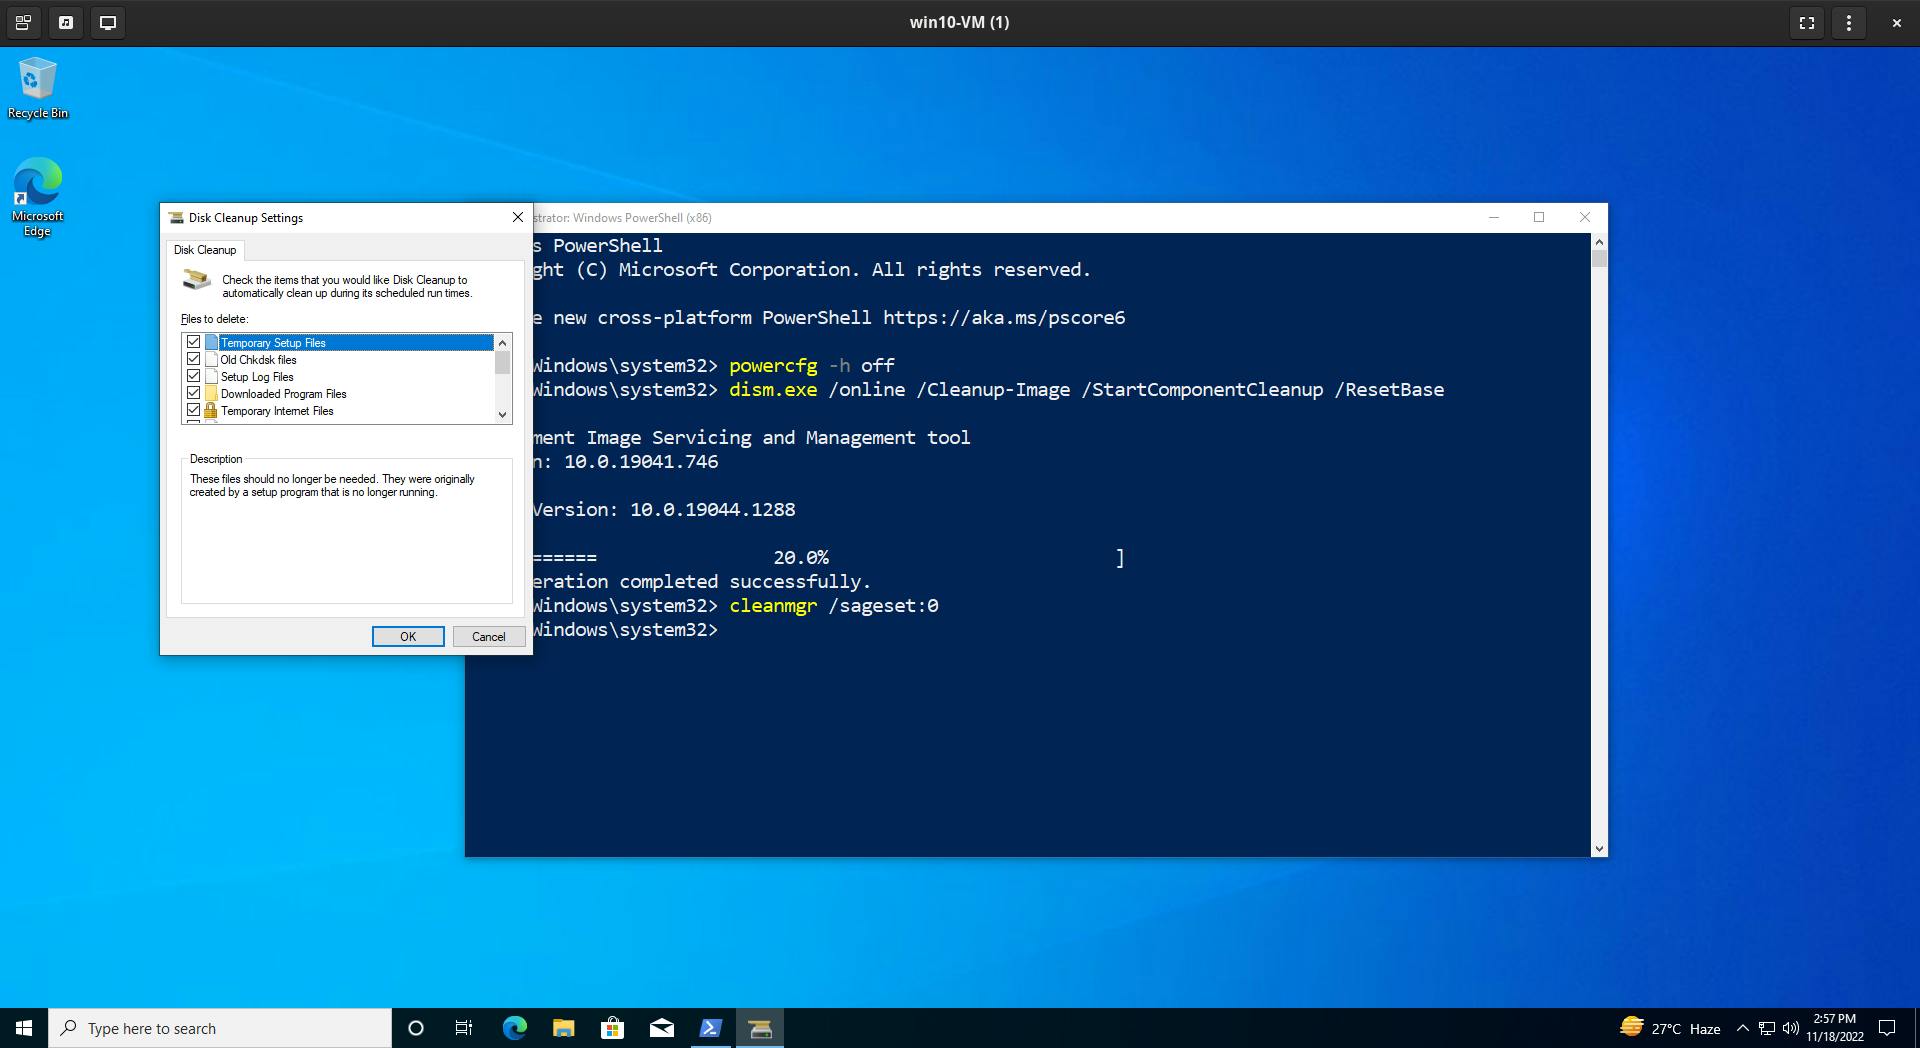
Then run it every time with
cleanmgr /sagerun:0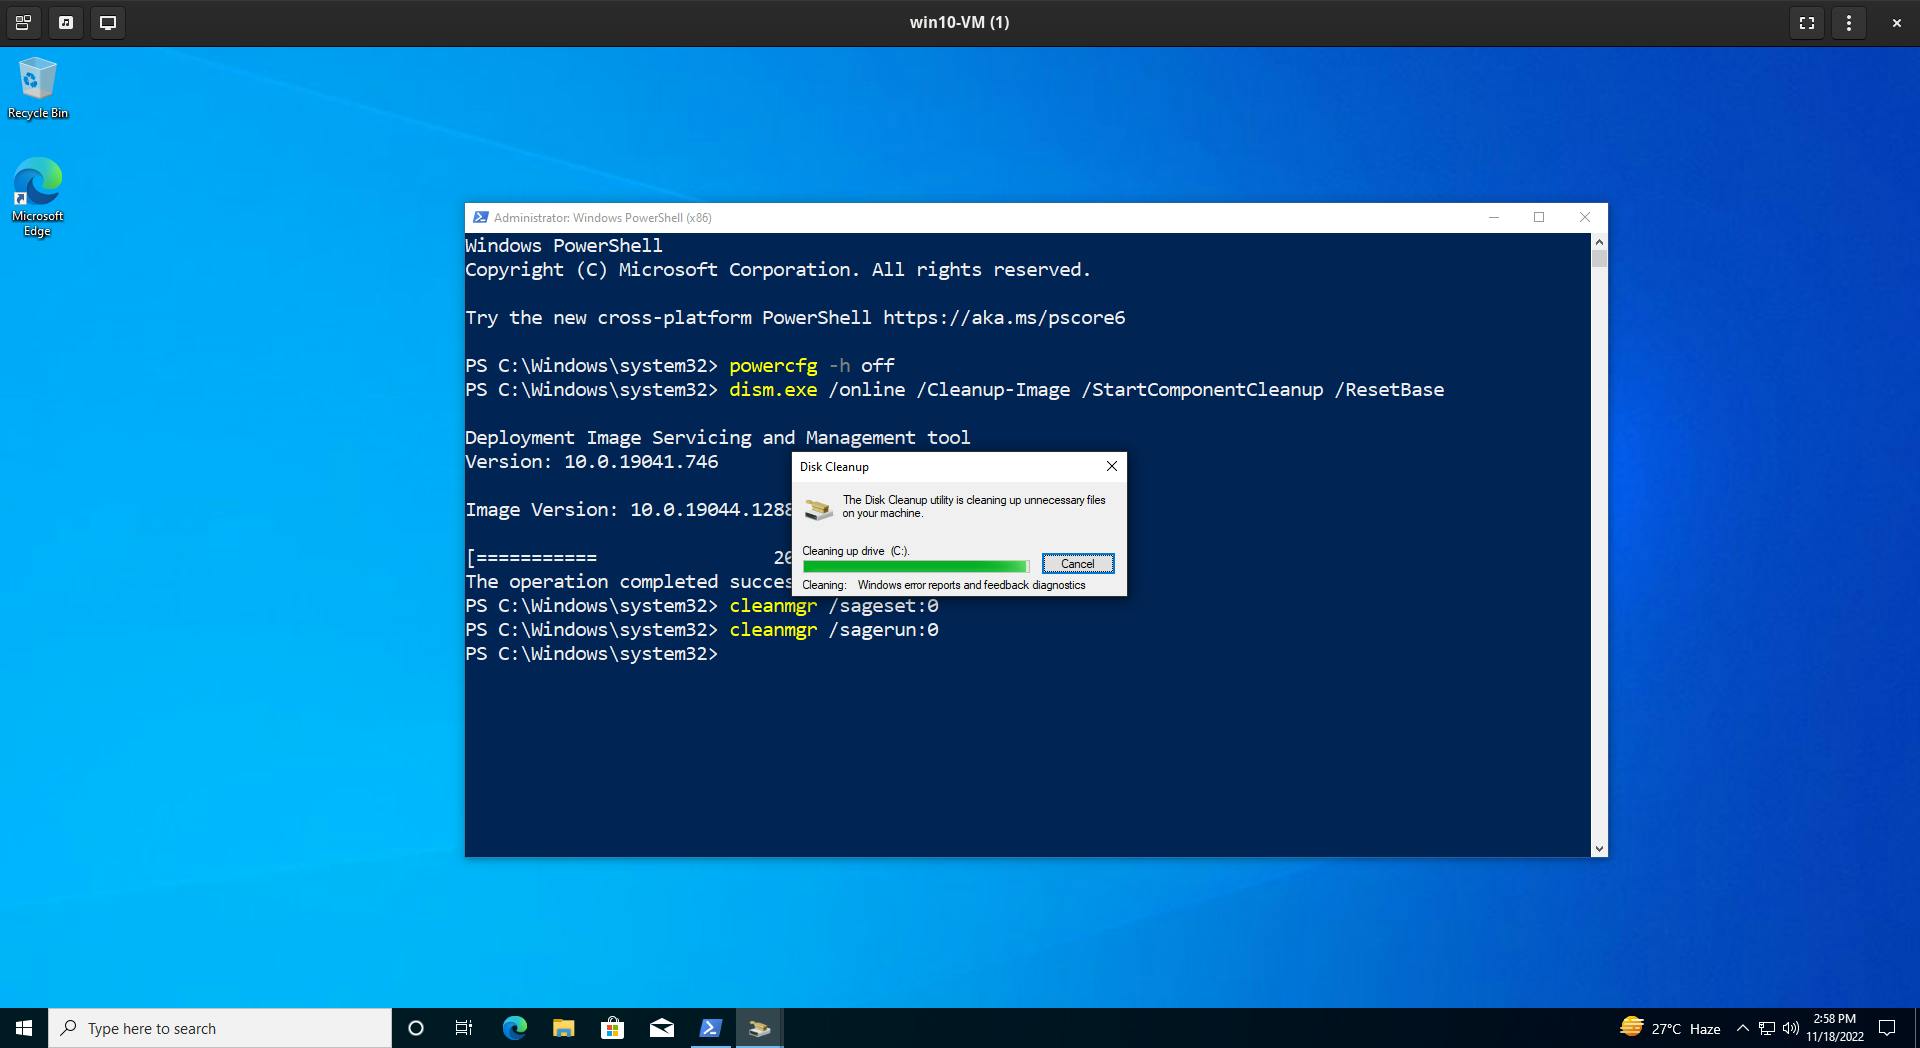
Finally after doing all the cleaning, run the Windows Defragment and Optimize Drive utility. Windows will detect the drive as
thin provisioned driveand issue discards to the host instead of regular disk defragmenting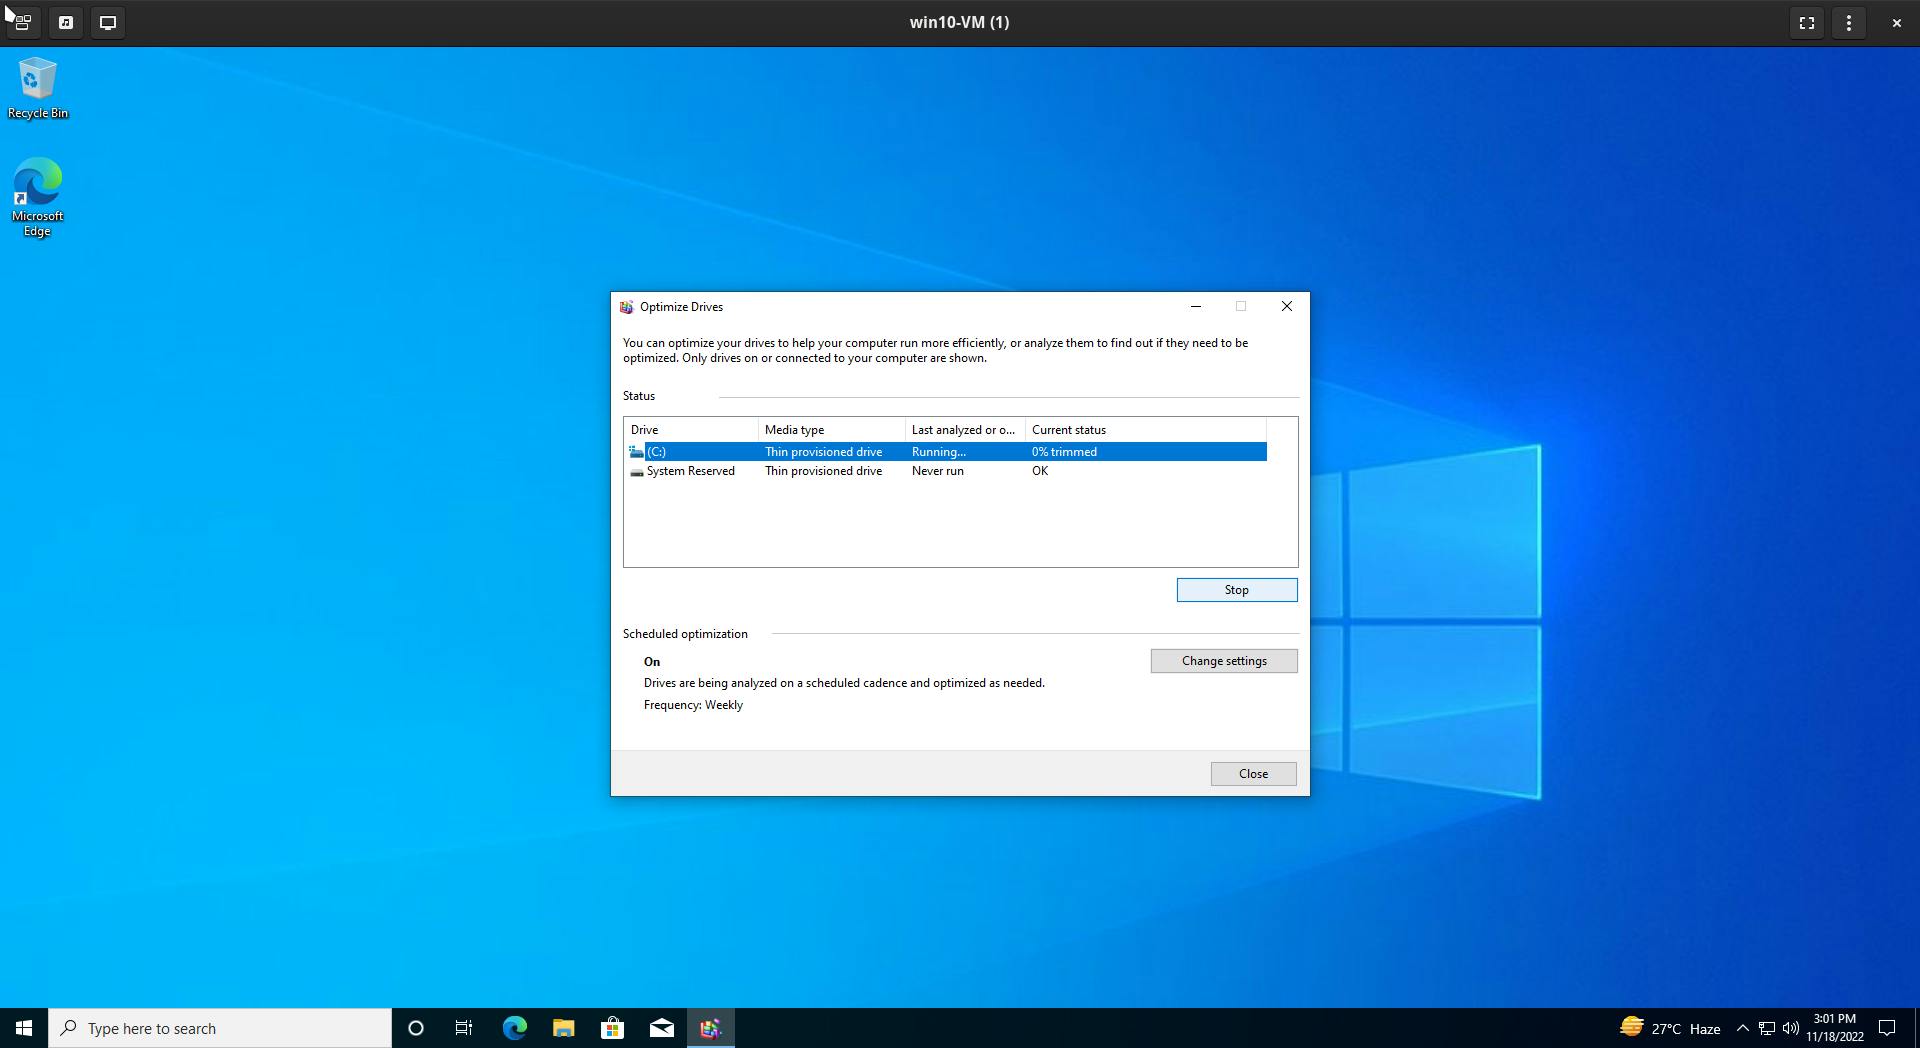
Conclusion
A windows system configured for VM operations in mind, can realistically be striped out of a lot of services without putting the system security or stability at much risk. Two worst offenders of which are Windows Defender and Microsoft Edge, integrated so deep in the operating system by Microsoft that removing anyone of them fully leads to stability issues with the OS. While Edge can be suppressed somewhat by deleting some user files and registry keys, Defender is mostly left untouched to keep the OS-kraken happy.
Special thanks to,
Red Hat VM documentations
Matteo Croce's space optimization article
Chris Titus Tech's storage passthrough article